Field Notes: Turning Drone Images Into a Map
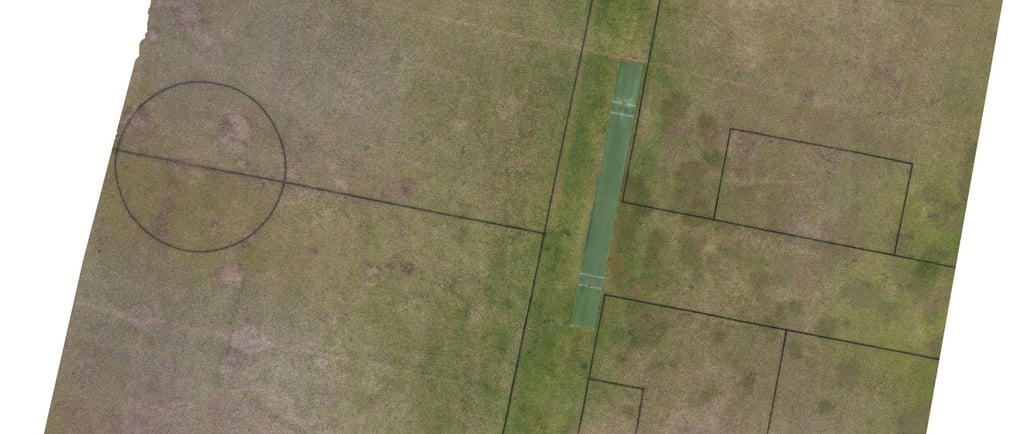
Field notes on a practice project creating an orthomosaic from data captured at a sporting feild.
7/12/20264 min read
1. Why I went out
I used a local sporting field to practise a full drone mapping workflow: planning the job, flying the site,
processing the images, and seeing whether I could turn the result into something presentable. The field
was a venue for both cricket and soccer and had some interesting ground features – a synthetic cricket
pitch, worn patches due to use at common points.
2. The plan
The main focus for this mission was simply to get used to the process, in fact, to create a process, fine-
tune it, see where there were gaps and what didn’t work.
The plan was to capture clean top-down imagery for an orthophoto, then add a few oblique images and
video clips to give the site more context. I would do a manual run, flying a grid pattern and taking
photos at regular intervals. I would also use the DJI waypoint software to automatically gather data on
a grid pattern. I would also use the waypoint software for the oblique images and the video.
I wanted to use free software to process the images and chose WebODM to do this. I would create an
orthophoto, perhaps a 3D model, and a 5 – 8 page report similar to something a client might want from
such a project.
3. What actually happened
Initially I expected to use the waypoint function included with the DJI software on the Mini 5. The
software is not intended to be used for a grid capture like the one necessary for a photogrammetry
project. I did set it up and take the time to create the waypoints for a grid maneuver over the field, but it
was quite awkward. Manual capture, that is flying a grid myself and taking photos at regular intervals
through a grid pattern, worked very well and was ultimately the data I used for the final orthophoto
output.
The oblique capture that I did was run using DJI’s waypoint software. Unfortunately the settings I used
for this had the camera pointed downwards and did not produce useful photos.
There was an interaction I had with a member of the public. He believed the operation of a drone was
not permitted. I stayed calm, went with it, and ultimately said that I’d bring it in. No drama from me
and in the end it was a good experience to have and provided a valuable lesson.
4. What came out of it
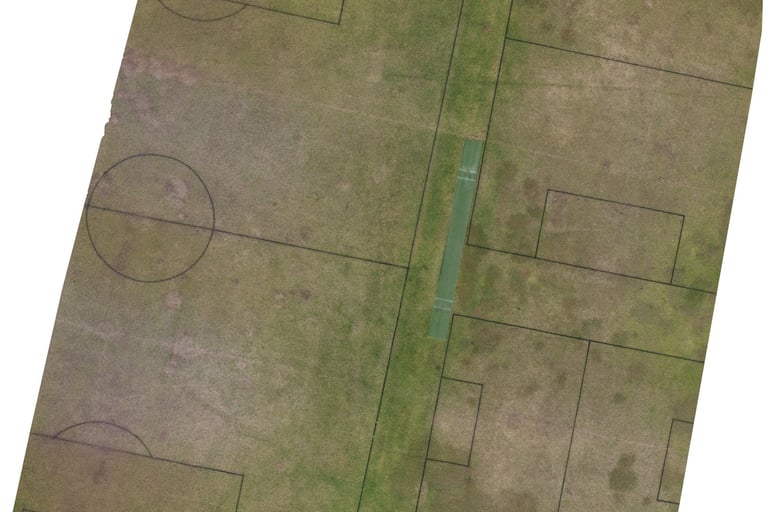
The manual nadir images processed well in WebODM. The first result looked low-resolution, so I
reprocessed at higher orthophoto resolution and got a much better output.
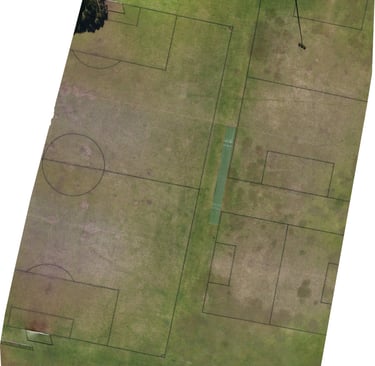
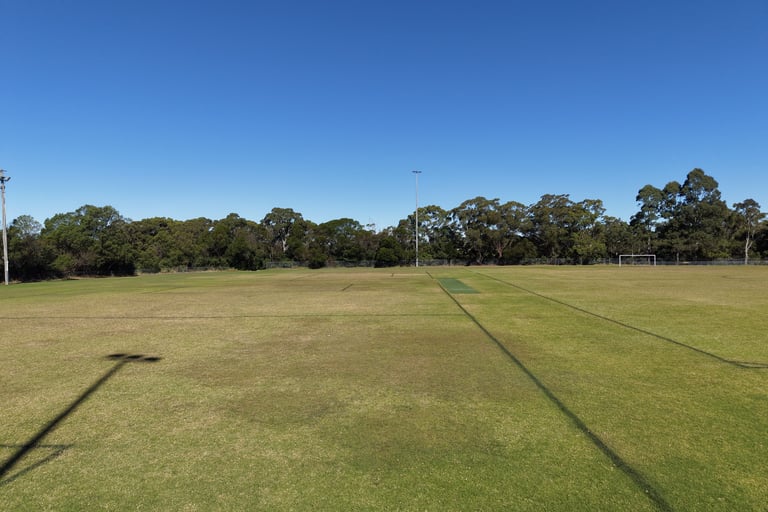
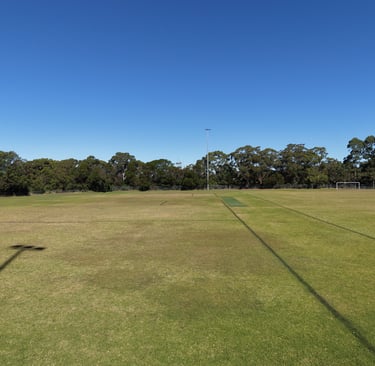
The sporting field showing soccer goal posts and cricket pitch.
Processed orthophoto, resized from the original 354 MB output. This was generated from manually captured nadir images and resized for web publication from the original high-resolution WebODM output.
5. What I learned
Clearly the DJI Mini 5 is not intended for professional mapping use and the included software is not
appropriate for flying grid patterns automatically. Having said that, the data capture manually was more
than acceptable. The data I got was of a high quality for my intended purposes and until those purposes
change the aircraft is good enough.
One clear issue that arose was the necessity for being able to check the validity, quality, and totality of
the captured data on site. I walked away hoping the captured data was good and complete. For a first
mission it wasn’t a big issue as all the actions that surrounded the data collection was more important at
this stage. But as time goes on being able to look at the data closely is essential.
The process of capturing the data was enjoyable and did require considerable effort at first. Having
created a process and documented what works and what doesn’t, this process will get progressively
more routine as I conduct more missions. Provided the captured data is of high quality the real value,
and therefore skill, will increasingly come from the processing and interpretation stages. This is where
depth of skill and real value to potential clients exists.
6. What I’d change next time
For my next project I want to move from having done my due diligence with the JSA and set up to
capturing the data as quickly as possible. There are legitimate concerns, safety or otherwise, that need
to be addressed before setting out to fly, however this should not slow down the process. Speed of
execution is important. Establish a safe and informed mission plan, then fly the mission. Get the data
and get to the processing stage.
Having the tech to review the data on site is a priority. Taking the time to run through each image and
video will save re-flights in the future. Having a laptop ready on site is how I will proceed with future
projects.
After the interaction with the bystander I decided that having a clear script that I could use with
members of the public would be a good idea. Something memorised that I could say in similar
situations, perhaps a number or website I could direct them to if they still had doubts or questions.
7. Where this goes next
The next step is to apply the same workflow to a rural paddock, where the output can move beyond a
basic sports-field map and start becoming a simple land-condition report.
Contact
For environmental, agricultural, and site mapping enquiries across NSW
Phone
info@yaw90.com
Email for phone conversation
Service Area
Sydney and NSW